 Home
Home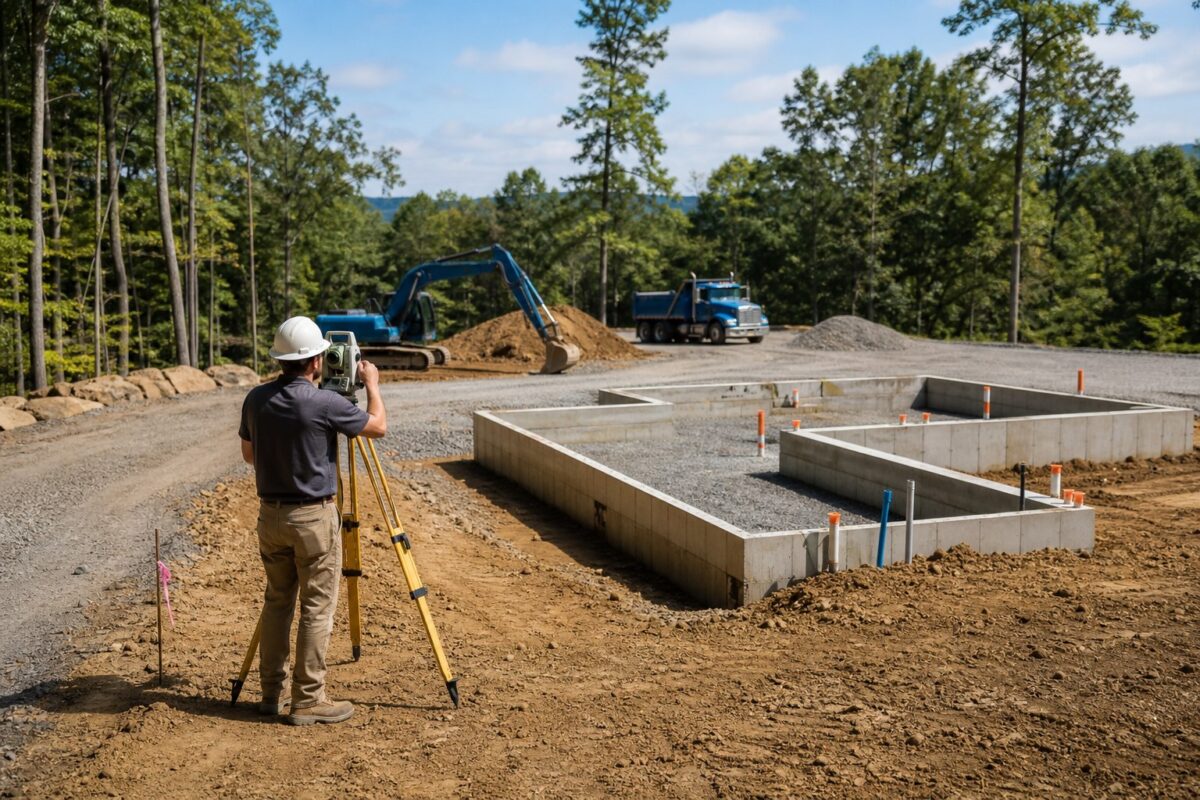
Last reviewed: August 23, 2026
A successful modular-home installation starts long before a truck reaches the property. The home, foundation, route, utilities, lifting plan, permits, and inspections have to work as one project. A delay in any one of those areas can affect the others, so “site ready” should mean more than a cleared patch of land.
This checklist is a planning aid for U.S. buyers, not a substitute for project-specific engineering or legal advice. Requirements vary by state and locality. Confirm each step with the authority having jurisdiction (AHJ), the home supplier, a licensed design professional, and qualified local contractors.
Step 1: Confirm what you are buying
Start with the product’s legal classification and written scope. A modular home is generally built off site to the state and local codes that apply where it will be installed. That is different from a manufactured home built to the federal HUD Code. Marketing terms such as prefab, container-style, or expandable do not establish the classification.
- Ask for the manufacturer, model, construction system, proposed code path, and required certification or insignia.
- Identify what will arrive: framing, panels, three-dimensional modules, or a more complete unit.
- List what is included and excluded: design, engineering, freight, unloading, crane, set crew, foundation, utility work, exterior closure, interior finish, and inspections.
- Confirm who is the seller, manufacturer, designer, general contractor, installer, and permit applicant. One company may not perform every role.
Modular Home Direct presents customizable plans and package options and may help buyers coordinate engineering, permitting, delivery planning, and contractor connections. The signed quote and agreement—not a category name or general website description—should define its role on your project.
Step 2: Complete land and jurisdiction due diligence
Before finalizing a home design, contact the local planning and building departments. Ask whether the proposed use and construction type are allowed, which code editions and local amendments apply, and which agencies must approve the work. Planning approval and building-code approval are separate questions.
- Land use: verify zoning, setbacks, height, lot coverage, parking, access, design-review rules, and any overlay district.
- Private restrictions: review recorded covenants, easements, utility rights-of-way, and homeowners’ association requirements.
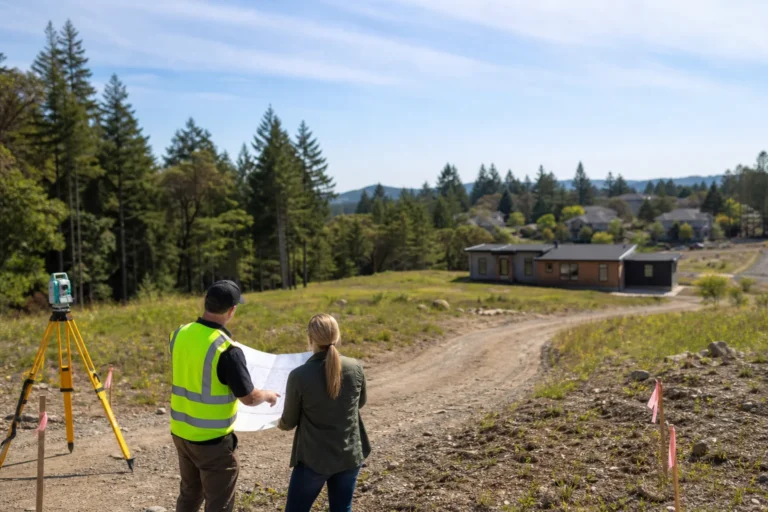
- Property information: obtain the boundary and topographic surveys the designer, lender, title company, or AHJ requires.
- Hazards: check the official FEMA Flood Map Service Center and ask local officials about wildfire, wind, snow, seismic, expansive-soil, landslide, or other location-specific conditions. A map lookup does not replace a survey, elevation certificate, or professional hazard assessment when one is required.
- Soils and drainage: ask the engineer whether geotechnical investigation, bearing-capacity information, groundwater review, or engineered drainage is needed.
- Utilities: verify the availability, connection point, capacity, fees, and approval process for power, water, sewer or septic, gas, and communications.
Step 3: Design the foundation and site around the approved home
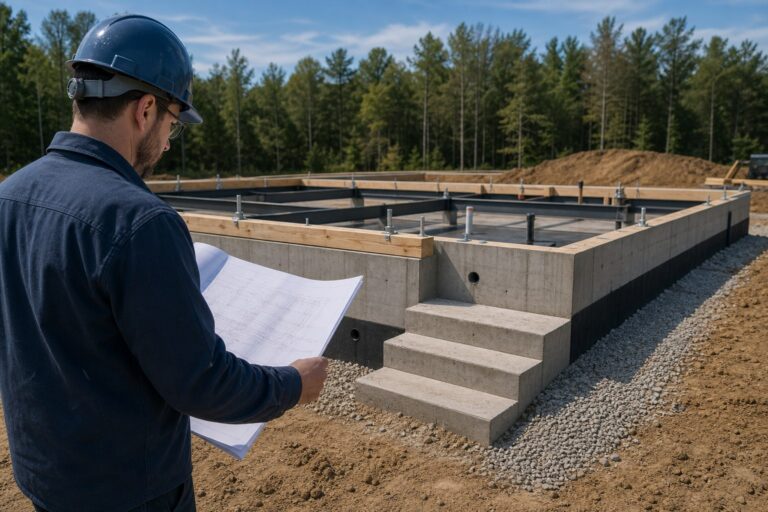
The foundation should be designed for the selected home, its connection details, the site, and locally applicable loads. Do not pour a generic foundation based only on a sales floor plan. Coordinate module bearing points, anchor locations, crawlspace or basement access, utility penetrations, finished-floor elevation, frost protection, termite requirements where applicable, and water management.
Surface water should be managed deliberately. Grading, roof drainage, foundation drainage, and adjacent paving should work together to direct water appropriately. The exact slopes, drain locations, waterproofing, and erosion controls belong in the approved site documents, not in last-minute field decisions.
Documents to align before construction
- Approved architectural, structural, foundation, and site plans
- Manufacturer or design-team installation and connection details
- Permit conditions and required inspection sequence
- Survey controls, benchmarks, and finished elevations
- Utility plans and responsibility matrix
- Delivery, crane, rigging, temporary-bracing, and weather-protection plans
Step 4: Plan the route, staging area, and lift
A site can be buildable but still difficult to deliver to. Have the carrier and set team evaluate the route and property before production is locked. Module dimensions and weights, bridge or road restrictions, turning radii, grades, overhead lines, trees, gate widths, soft shoulders, and seasonal road conditions can all affect feasibility.
- Confirm who obtains transportation, oversize-load, road-use, or temporary-closure permits.
- Identify a stable staging area and crane location, including any required ground assessment or mats.
- Have the appropriate utility or authority address overhead-line conflicts; never assume a crew can move a line.
- Define site traffic control, worker access, material storage, and emergency access.
- Set a weather decision process and a secure fallback plan if delivery or lifting must be postponed.
Step 5: Build and document the site work
Clear and grade only within the approved limits. Install erosion and sediment controls, temporary access, excavation support, drainage, foundation work, and underground utilities in the required order. Photograph concealed work where permitted, retain delivery tickets and test reports, and do not cover items before required inspections.
Before declaring the foundation complete, resolve inspection corrections and verify dimensions, elevations, bearing surfaces, embeds, anchors, openings, and utility stub locations against the latest approved plans. Written acceptance by the responsible professional or AHJ may be required; a contractor’s informal “looks good” is not the same thing.
Pre-delivery readiness checklist
- Approved permits and current plan set are available on site.
- Required foundation, underground, utility, and access inspections have passed.
- Foundation dimensions and elevations have been verified against the approved home drawings.
- Access road, staging area, and crane location meet the delivery team’s written requirements.
- Obstructions and overhead conflicts have been resolved by authorized parties.
- Utility stubs are correctly located, protected, labeled, and safely capped or de-energized.
- Required equipment, rigging, bracing, fasteners, sealants, and weather-protection materials are confirmed.
- Insurance responsibilities and risk transfer during transport, set, and construction are documented.
- Inspection hold points and responsible contacts are scheduled.
- A delay and severe-weather plan is shared with every affected party.
Step 6: Manage installation and closeout
During the set, follow the approved lifting, temporary-support, connection, and weather-protection details. The team must coordinate structural connections, module joints, roofing and exterior closure, stairs and guards, fireblocking, and mechanical, electrical, and plumbing connections. Changes should be reviewed through the required design and approval process rather than improvised in the field.
After installation, track every correction through final sign-off. Collect inspection records, approved revisions, equipment startup reports, test results, warranties, maintenance instructions, and as-built information. Do not occupy the home until the AHJ has issued the required certificate of occupancy or other authorization.
The most useful owner habit is simple: assign every task to a named party, attach a due date and required evidence, and update the list when the design changes. That turns “site prep” from a vague allowance into a controlled project.
Sources
Your next step
Turn what you learned into a clearer home plan
Compare available models and floor plans, review financing resources, or bring your property and project questions to our team.